Christmas Eve and all the feasting that comes with it (and Santa!) are almost here. Do you know what you’re putting out for the big guy? Sure, there’s the classic chocolate chip cookie, but what if the Santa you know prefers to experiment?

Enter my junk food delight cookies. As the third place champions of this year’s Brooklyn Cookie Takedown, these are destined to please the bearded gift-giver in your life. Just make sure to have lots of milk (or craft beer) on hand.

Junk Food Delight Cookies
Makes about 40-50 cookies
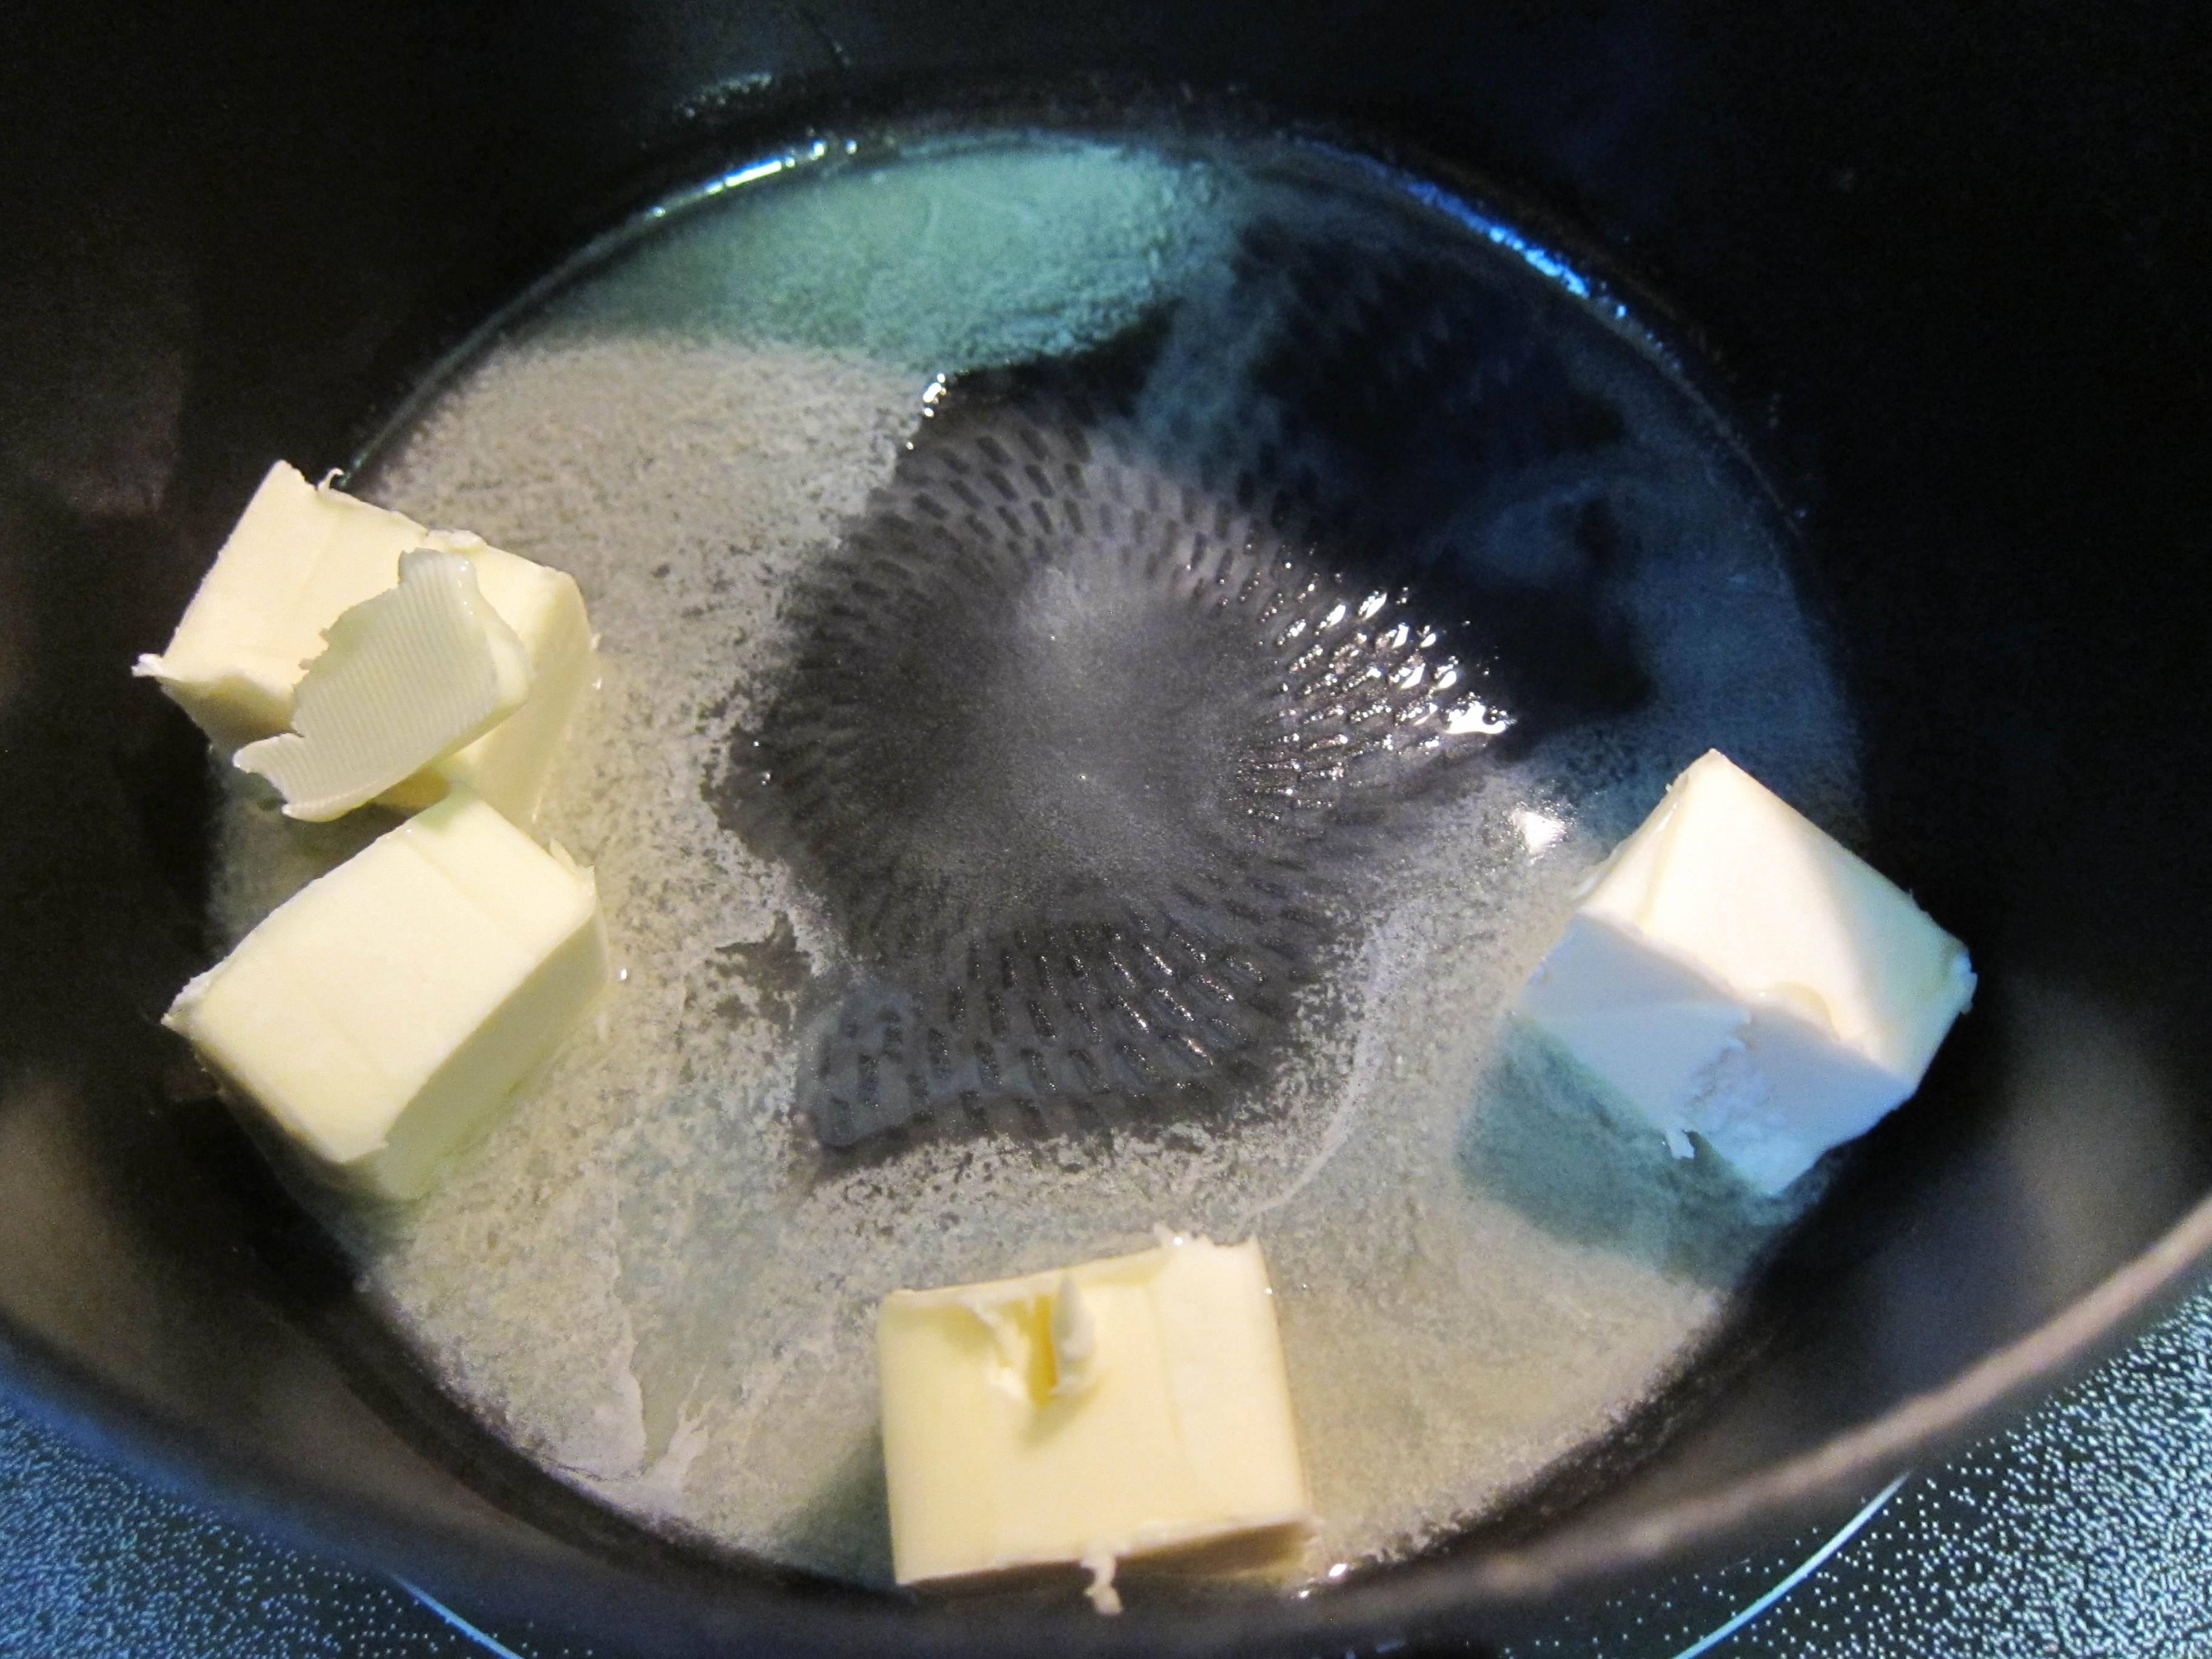
5 tablespoons butter
12 ounces Ghirardelli’s 60% cocoa baking bars
4 ounces Ghirardelli’s 70% cocoa baking bar
1/2 cup flour
1 teaspoon baking powder
heaping 1/2 teaspoon salt
4 eggs
1 1/2 cups light brown sugar
1 tablespoon vanilla extract
1 cup thin pretzel sticks, cut into 1/2 inch pieces
1 cup peanut butter M&M’s
1 cup Reese’s peanut butter cups, chopped into small pieces (this is easier to do when they are frozen)
Maldon sea salt flakes, for topping

Fill a small pot with about an inch of water and bring to a simmer. Place butter and cocoa bars in a small or medium bowl and place on top of pot. Stir occasionally, until butter and cocoa are melted together. Let cool slightly (but not completely) while you work on the following steps, continuing to stir every few minutes to make sure it is not solidifying.
Whisk flour, baking powder, and salt together in a small bowl.
Beat the sugar and eggs in a stand mixer on medium high speed for about 6 minutes, until the mixture thickens. Add the vanilla extract and melted chocolate, and mix on medium speed until well incorporated, about 2 minutes.
Use a rubber spatula to fold the flour mix into the batter. Make sure it is evenly distributed. Add the pretzel sticks, peanut butter M&M’s, and Reese’s cups, and fold until well distributed within the batter.
Cover top of batter with plastic wrap and place in fridge for at least 1.5 hours to harden (or else it will be too difficult to shape into cookies).

Preheat oven to 350 degrees. Line baking sheets with parchment paper. Using either a teaspoon and your hands or a cookie scooper (a cookie scooper will be much easier!), shape the dough into slightly smaller than ping pong ball sized mounds. Sprinkle liberally with sea salt flakes. Baked for 8-12 minutes, until tops looks just slightly dried and cracked, but much of the cookies still looks raw. Allow to cool completely.
Unlike most baked goods, these taste best once they have completely cooled, and once they have rested for a day. Just make sure to store these in an airtight container (at room temperature).